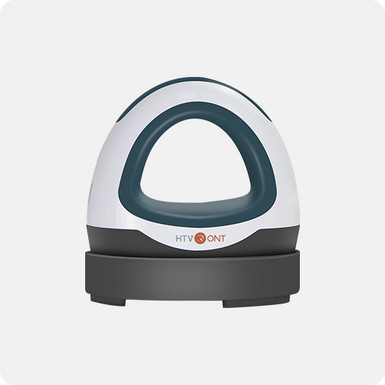
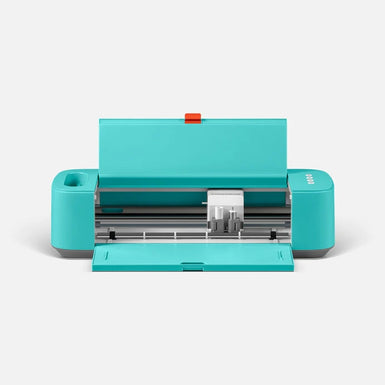
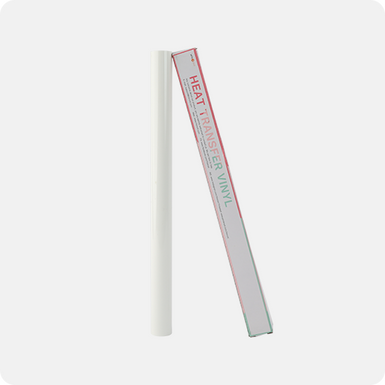
With the feasibility of sticking any design of your choice on any material or object, the demand for heat transfer vinyl is increasing ever since. You can make fun crafts, make your shirts funky and even elevate the beauty of any boring surface. The colorful and interesting adhesive patterns of the heat transfer vinyl are so easy to stick on. Just grab the essentials and be ready to beautify your objects using the following easy tips and tricks!
How to Apply Heat Transfer Vinyl?
Step 1: Clean the Surface
Make sure to clean any dust particles from the surface where you want to apply the heat transfer vinyl. As a pro tip, you can do so by either using alcohol, vinegar or even nail polish remover can do wonders. If it’s a fabric where you want to apply the heat transfer vinyl, then wash it prior to starting with the project. Well, don’t forget to let the material dried completely before applying the heat transfer vinyl on the surface for a perfect application.

Step 2: Getting the right design thickness
Appropriate sizing is a must for proper application of design. You might be thinking why even size matters in this application of heat transfer vinyl. Here’s why it is a primary step - if the design of your choice is thick then you may face difficulty applying the vinyl over it. Air bubbles are a big no-no for smooth application of your design! But don’t make it thin as well - as you will find it hard to stick on. Once done with designing, cut your vinyl not deep enough to be peeled off harshly, which may ruin the design.

Step 3: Design mirrored image
While designing, make sure to cut the design in a way that the design is mirrored or flipped over the object during its application. So what you need to do is cut your design on the back of vinyl sheet which has heat adhesive material. On top of this is a clear HTV carrier sheet which holds the design in place. This will ensure the correct placement of the design on your shirt or any other object you wish to print the design on.

Step 4: Time to tape up!
The designing part was interesting! Isn’t it? Now after being done and dusted with the most intricate part, it’s time for taping things up. The reason why we are doing this is to keep the design composed together. This will help you in the easy application of design on the object of interest. Trim the tape off close to the edges of the design, but if your design is too scattered, then you are recommended to make a large slit on corners of the tape to peel it off easily without messing up your design.
Step 5: Cut the excess vinyl off!
Scrap off the excess sides and unwanted parts in the design from the vinyl sheet. You can use a weeding tool for this purpose.
Step 6: Iron the vinyl!
Time for the final reveal! Place the design over the object with the vinyl (adhesive) part down and clear sheet up. Now to actually stick the adhesive part, all you need to use is iron and exert pressure over the design for 10-15 seconds. Peel off the clear sheet and voila! You are done.


![[Starter Kit] Auto Heat Press Machine 15" x 15" 110V + Starter Kit Bundle](http://www.htvront.com/cdn/shop/files/21_080605f2-5363-49a8-87f9-98c73560a5e9_385x.jpg?v=1713344774)
![[Premium Bundle] Auto Heat Press Machine 15" x 15" 110V + 20 rolls HTV Bundle 12“x3ft + Mini 2 Heat Press Machine + Random Sublimation & HTV Bundle ≥ $180](http://www.htvront.com/cdn/shop/files/1UK_4_385x.jpg?v=1713340288)


