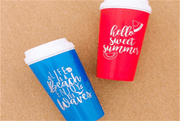
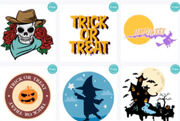
Stickers can be used to decorate rooms for commercial purposes as signs to promote businesses, services, or brands on vehicles, sandwich boards, or in stores. Usually, crafters use stickers for cups. Stickers are not only great for labeling supplies that you send your child to school, but also for all items provided by teachers or schools that may not be taken home. You can also involve children in designing and making their own stickers. After completing the operation, they will be very excited! Making stickers with Cricut is great!
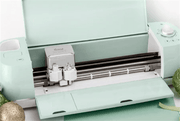
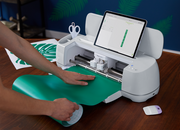
Today, you will learn how to make stickers with Cricut machines such as Cricut Maker or Cricut Explore Air 2 to make the most beautiful stickers. I will teach you how to make stickers from scratch. You will know how to make stickers on Cricut. Use HTVRONT Printable Sticker Paper to make colorful DIY stickers. Making stickers with Cricut can add fun to your life.
What is Cricut?
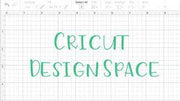
As is known in the crafting sector, you have great potential to learn about the brand. Cricut, a leading player in electronic cutting machines and tools, is dedicated to developing solutions for lists of DIY crafts, enabling cutting items to be cut out precisely and accurately with a variety of materials. At the same time, Cricut has developed their own applications, like Cricut Design Space, aiming to help crafters boast the greatest possibilities of designing and customizing projects without device limitations prior to official print.
What is the print then cut feature in Cricut Design Space?
As indicated by the name, the print then cut feature enables you to print a design using your home printer before cutting around the edges with a Cricut machine. A large number of stickers are needed to adopt Cricut's print then cut feature, thereby enabling you to print designs at home and then run them through Cricut machines to cut stickers out.
It should be noted that the client system version of Cricut's print then cut feature is only available for iOS and desktop makers. As of yet, Android users have failed to access Cricut Design Space to experience this credible feature.
Related Post: How to Print Then Cut on Cricut

Materials you need:
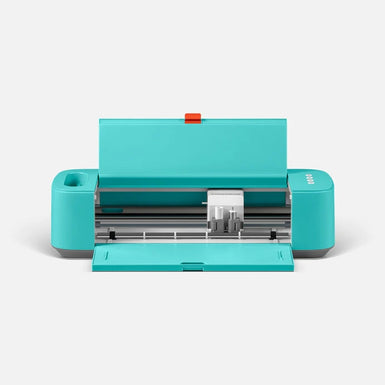
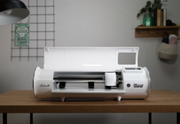
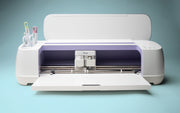
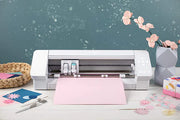
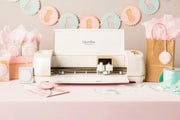
Cricut Maker or Cricut Explore Air 2
Printer
Printable Sticker Paper
Light Grip Mat
How to make stickers with Cricut?
Step 1: Design stickers in the Design Space:
Create a layout.
Insert the shape or printable image of your choice, and then adjust the size. Cricut has nine different shape options for you to choose from. You can also upload your own images to Design Space.
What we need to do now is to add a variety of different shapes. Don't forget to unlock the proportions in order to create various rectangles.
Select the elements you want to align, and then use different options depending on how you want to align them.
In most cases, you will use "center" and "distribute horizontally or vertically."
Add shapes of different sizes and let your imagination fly! Your stickers will be cute in the end.
Then, with the shape selected, change the fill to print, and then select the desired color or pattern for the shape. To add color to the sticker, you can choose a solid-color background or pattern.
Select the element you want to add color to, and then change the color box next to the "Operation" setting in the top panel of the canvas area.
To change the color of multiple shapes at the same time, always press the Shift key on the keyboard and click all the elements you want to edit. This also applies to patterns.
The pattern is the background that can be used for stickers or other “Print then Cut” projects. There are hundreds of kinds for you to choose from. If you want to add a pattern, please change the operation to "Standard print then cut", then click the color box next to "Operation", and select "Pattern" from the "Print Type" drop-down menu.
You can also add text and images. To add text, click the "Text" button located on the left panel of the canvas. After you finish adding colors and patterns to the sticker, continue to enter the text you want to use.
You can personalize the text to suit your preferences and general life, and this is something you can never get or buy in a regular store.
After entering the text, place the sticker paper for the cricut on the desired shape.
Now it's time to add images to your stickers! (Click on the image button located on the left panel of the canvas.)
Remember that when working with images, they are sometimes grouped and used in different colors and sizes. You will need to group them to edit the color and size of each small element.
You may also need to change the ratio to make it fit your label paper.
You can only print designs up to 9.25 x 6.75 inches, and then print. Therefore, please check the size of sticker paper for the Cricut before sending the item for cutting; otherwise, you will receive a warning that the image is too large.
After completing the design, make sure that the fill of each element is set to "print." Then, select the entire design and click the "Flat" option at the bottom of the "Layers" panel.
Repeat until you get all the designs you need! Likewise, don't forget to flatten each design! You can copy the design on the canvas to increase the number.
When you are ready to cut, click the "Make" button in the upper right corner, and then load the printable sticker paper into your printer. At last! Let's cut these cuties.
Step 2: Print and Cut your Cricut Stickers
If you have a Cricut Maker, you can use colored paper and glossy white materials. If you have an Explore machine, you need to use matte-finished white paper.
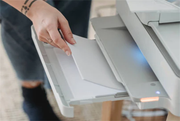
Make sure to load the material correctly according to the printer so that when you pull it in for printing, ink does not fall on the support plate. Check that everything is in place, and click Continue.
First, click Send to Printer, and then a print setting box will pop up. Select your printer, keep all the default settings, and then keep "Print." When finished, a separate print dialog box will usually pop up behind the "Design Space" window. Check all print settings here!
If you have Cricut Maker, please browse all the materials and enter "sticker" to narrow your search. If you have Cricut Explore, please move the smart setting dial on the Cricut Machine, then browse the materials in the design space, and then select the sticker paper you want to use.
Related Post: How to Add Fonts in Cricut Design Space
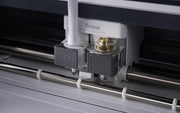
Set your material and pressure; put your printing paper on the LightGrip mat; load it into your machine; and cut.

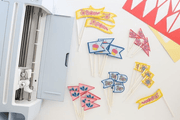
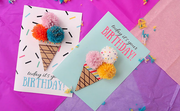
Now you are done. A sticker can be used as a gift for friends or loved ones. You can also add inspiring phrases and more! School supplies, mini hand sanitizer, water bottles, and other items that need to be labeled—let's put a sticker on them!






















































![[Starter Kit] Auto Heat Press Machine 15" x 15" 110V + Starter Kit Bundle](http://www.htvront.com/cdn/shop/files/21_080605f2-5363-49a8-87f9-98c73560a5e9_385x.jpg?v=1713344774)
![[Premium Bundle] Auto Heat Press Machine 15" x 15" 110V + 20 rolls HTV Bundle 12“x3ft + Mini 2 Heat Press Machine + Random Sublimation & HTV Bundle ≥ $180](http://www.htvront.com/cdn/shop/files/1UK_4_385x.jpg?v=1713340288)
