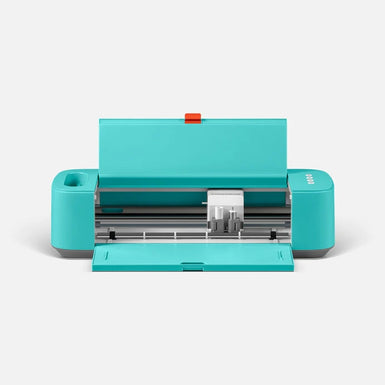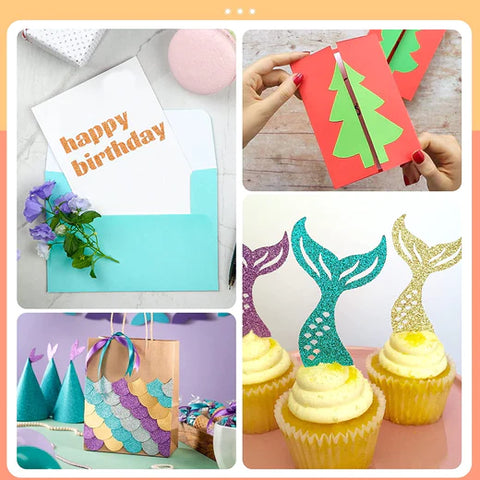
Here, you will learn and gain the ability to make customized cards for various occasions! Yes, today you are giving up the store bought cards and embracing your creativity to show your loved ones your love and appreciation for them! Some people really like card making, if you are one of them and own Cricut! Cricut aims to make your crafting life easier, if you know how to use this machine correctly, you will actually expect craftsmanship. It will be very fun to make cards for your loved ones. Let's get started!
Materials You Need
- Cricut Cutting Machine
- Corrugated Paper
- Card Stock
- Cutting Mat
How to Make Cards on Cricut?
There are dozens of corner-cut card designs available for every occasion and holiday you can think of! When looking for a card made with Cricut Joy, the first thing you have to do is to log in to Design Space, just open the "Project" tab (along the left toolbar) and select " Cards":
After selecting a card, click on the picture to open its description. Here you can see what materials you need and instructions for this particular project. From here, click the green "Make It" button.
The design of these Cricut Joy cards is simple. This means that after you click the "Make" button, you will immediately be directed to the cut screen to make your card. You cannot drag and drop these images onto your design canvas to manipulate them. In addition, they are designed to be cut together with Cricut Joy Card Mat, so you don't need to choose a specific mat.

Automatically, you will find yourself on the cut screen, and the card pad will be pre-specified in the drop-down menu on the left. If you are using a standard half-sheet or insert card kit, please make sure to choose the 4.25×5.5” size.
The next step is to load the pre-cut cards onto the card pad.
Note: The Cricut Joy Card Mat has a very small, thin liner on the top of the mat. Before loading your card and cutting your project, be sure to remove this liner!
The top layer is sticky like the Light Grip Mat, so you can fold the top card itself and press it down.
Make sure you take the time to align the folded card with the preprinted lines on the card pad. This will ensure that your design is completely centered in the end!
Place the card on the card pad, feed the card directly under the roller, and load it into Cricut Joy.
Press Go: Click the Cricut logo on your machine and see the magic happen right in front of your eyes!
This is where things get really exciting! These corner-cut cards are designed to "self-clear", which means that you only need to gently pull back on the top of the card and all negative/unwanted elements will stick to the card pad.
The top of the card is now cut off, so to complete the design and add some color, you just slide the insert into these four cut corners.
By using contrasting colored paper, you will end up with a gorgeous, color-coordinated card that can be pieced together in a few minutes! You are now a PRO at making Cards!


![[Starter Kit] Auto Heat Press Machine 15" x 15" 110V + Starter Kit Bundle](http://www.htvront.com/cdn/shop/files/20240425-170634_385x.jpg?v=1714036345)
![[Premium Bundle] Auto Heat Press Machine 15" x 15" 110V + 20 rolls HTV Bundle 12“x3ft + Mini 2 Heat Press Machine + Random Sublimation & HTV Bundle ≥ $180](http://www.htvront.com/cdn/shop/files/1UK_4_22c12b1b-12dd-4105-ac25-93e2faae6a8c_385x.jpg?v=1713863580)
