As sublimation is increasingly recognized as a popular and permanent coloring technique in the handicraft industry, sublimation ink is essential for producing vibrant full-color designs.
This guide is for helping you fully understand this material, including what the sublimation ink is, how you use sublimation ink, where to get the best sublimation ink, and some frequently asked questions. Let's roll out!
What is Sublimation Ink?
Sublimation ink is a heat-activated dye designed for sublimation printing working on polyester materials and fibers. This dye-based ink is embedded into the desired substrates under high-temperature conditions. At the same time, it converts from liquid to gas. Once the sublimation ink gets in the fiber, and the temperature gradually cools down, the ink gas sets again with a hard-to-fall design on the substrates.
Speaking of that, the greatest advantage of applying sublimation ink is in regard to the colorful and vivid images. You can print almost all the pictures and photos you like and transfer them into stunning and personalized designs in many surroundings.
However, to actually put the sublimation ink into practice, there is a need to use the special sublimation paper as the medium. And the target substrates have to be either at least 65% polyester fabrics or covered with a polyester coating, which also called sublimation coating.
The required machine for the technique can be the exclusive sublimation printer. Otherwise, you can easily turn an inkjet printer into the compatible one by equipping it with sublimation ink.
How Do You Use Sublimation Ink?
The things mentioned above may sound a bit complicated. In fact, the sublimation process seemed the most efficient, just like printing any paperwork in your daily life. Now, let’s give it a quick look!
First, prepare the following items in advance:
1. Sublimation Ink
2. Sublimation Paper
3. An Inkjet Printer
4. A Heat Press
5. Parchment Paper or Teflon Sheet
6. Your Desired Substrates
Not that much, right? After the prep, you just need to fill your inkjet printer with sublimation ink. This article is mainly used an EPSON printer and a bunch of HTVRONT sublimation inks to depict. They work perfectly when printing the designs. And there will not be any ink stains.
An adorable design on your computer should be done at first and note to reverse it horizontally. Then, you should send the image to your printer and print it out with sublimation paper.
Since when you sublimate the image to your object, the image needs to face down and let the sublimation ink work directly on the surface. It should be emphasized on the fact that the image to be printed must be mirrored first. Otherwise, you may get an unexpected disaster!
There is a need to dry the sublimation ink lasting for seconds, and the image is ready to apply. Here, you may be concerned about the excess area outside the image will influence the final visual effect. You are offered to cut out the contour of the printed image with scissors. If you prefer to stress out the picture with a frame, you can place the image directly facing the object's surface.

A sheet of parchment paper or Teflon sheet should be set on top of the sublimation paper. And meanwhile, preheat your heat press at around 365-400℉. Once the heat press machine reaches its set temperature, the materials should be applied lasting for 40-60 seconds. At last, be careful and warm peel the sublimation paper. You will see that the sublimation ink is soaking completely and will stay permanently. The process is pretty easy than you can imagine.

Best Sublimation Ink
Don't know where to buy sublimation ink? As for the best sublimation ink, every crafter must own unique preferences based on diverse personal standards.
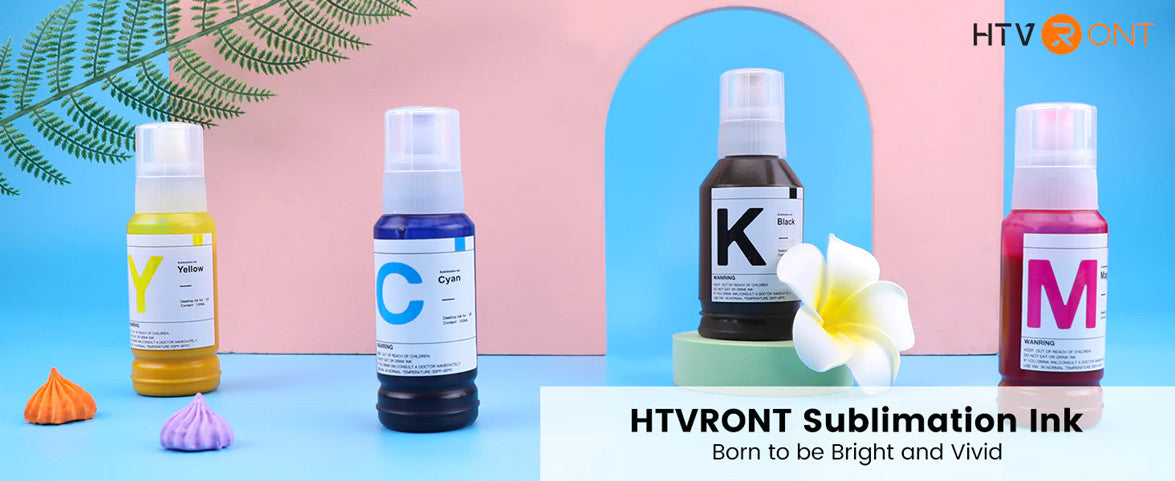
This article is mainly used an EPSON printer and a bunch of HTVRONT sublimation inks to depict. In fact, it works fantastically with many inkjet printers on the market with no specific limitation. And it’s the best sublimation ink because the final printing performance is quite vibrant and bright, and the images are clear to enjoy, the author believed.
The sublimation ink for EPSON drys fast once the printing is over. The different colors in one picture will not mix up together and be a mess. At least until now, there was nothing terrible happened in that the function of sublimation ink still works.
Products mentioned in the article can be seen in the HTVRONT product page. These products combine four colors which are all self-developed by the company itself. You can select the most suitable one according to your needs, such as the quantity, color combination, volume of each color, etc.
FAQs about Sublimation Ink
1. Can You Use Sublimation Ink for Regular Printing?
It’s possible to do that. But the thing is, if you convert a regular inkjet printer to a sublimation printer, it’s pretty complicated to ever get it back to normal since you will have to exclude all the sublimation ink and clean it completely.
Meanwhile, sublimation ink is designed to work with sublimation paper. Regular paper may perform with ink leakage, stains, and hard-to-dry situations. And that would be a huge loss of materials and sublimation ink.
2. What Base Materials Should You Use Sublimation Ink on?
There are lots of substrates to which you can apply sublimation ink on. As long as they can meet the two requirements, resist heat, and features a polyester coating.
Things like fabrics with at least 65% polyester, glass, wood, metal, sublimation cups, mugs, tumblers, and more, are suitable for the technique.
3. How to Remove Sublimation Ink from Tumbler?
If you have some mugs or tumblers ruined by the wrong operation, you may want to find the answer to how to remove sublimation ink from tumbler. For this query, this solution is white vinegar. (Some guys may adopt apple vinegar, but it’s also said that it may take longer and more energy to finish its work. As a result, it's recommended the usage of the white vinegar.)
Set the tumbler to be cleaned in a bucket or a basin and pour the white vinegar slowly until it fully covers the designs on the tumbler. Let the design part soak in the vinegar for at least an hour. During that period, you can attempt to scrub the sublimation ink and see if it’s long enough for the image to fall off.
You will need energy to scrub the image and find that the sublimation ink is being off bit by bit. Keep doing that, and make sure your scrubber is full of white vinegar while working. But you may note that after fully cleaning up the tumbler, the sublimation coating in that area has also been wiped off. So, you cannot sublimate the tumbler again at the same spot.
4. How to Save Sublimation Ink?
You should bear in mind that printer should be in operation regularly and your printer does not be turned off. It is essential to allow regular ink circulation in print heads. In case that your printer activates the cleaning process in an automatic manner, you should turn your machine on and run it a few times in a week. During the process, a small amount of ink is needed to do that.
Additionally, if the transfer paper is not used appropriately, the transfer paper is about to absorb a great number of ink than necessary. What's more, the ink will stay on the paper without transferring. In this sense, to adopt high quality coated paper is necessary and essential for efficient ink consumption so as to enable ink to be transferred to the fabric at the optimal rate.


![[Starter Kit] Auto Heat Press Machine 15" x 15" 110V + Starter Kit Bundle](http://www.htvront.com/cdn/shop/files/21_080605f2-5363-49a8-87f9-98c73560a5e9_385x.jpg?v=1713344774)
![[Premium Bundle] Auto Heat Press Machine 15" x 15" 110V + 20 rolls HTV Bundle 12“x3ft + Mini 2 Heat Press Machine + Random Sublimation & HTV Bundle ≥ $180](http://www.htvront.com/cdn/shop/files/1UK_4_385x.jpg?v=1713340288)

